Get Ethereum right
Before tackling Layer 2 scaling or MEV protection, you need a firm grasp of the base layer. Ethereum is not just a currency; it is a decentralized platform for resilient applications and infrastructure. Understanding this distinction separates the digital asset (Ether) from the network itself.
Start with the official Ethereum documentation to define core primitives. You must distinguish between Ether (the native value transfer mechanism) and smart contracts (the executable code that runs on the network). This clarity prevents costly errors when configuring wallets or interacting with decentralized applications.
Verify your setup against official network parameters. Check that your node or provider is synced with the current Ethereum mainnet state. Misaligned data here will cause failed transactions on any Layer 2 solution you attempt to use next.
Work through the steps
This section walks you through the practical steps to evaluate and interact with Ethereum infrastructure. You will learn how to verify network health, select a reliable node provider, configure your client for MEV protection, and monitor transaction status. These steps are designed to help you build a resilient and efficient setup.
Step 1: Verify Network Health and Finality
Before interacting with any Layer 2 solution, check the status of the Ethereum mainnet. A healthy mainnet ensures that L2 bridges and settlements operate smoothly. Use the Ethereum Beacon Chain explorer to monitor block production and finality times. If you see significant delays or missed slots, wait before initiating large transfers.
Navigate to a block explorer like Beaconcha.in. Look for the latest finalized epoch. If the chain is finalizing regularly, the underlying settlement layer is stable. This is the foundation for all L2 activity.
Step 2: Select a Reliable Node Provider
For most users, running a full node is resource-intensive. Instead, choose a reputable node provider like Alchemy, Infura, or QuickNode. These services offer high-availability RPC endpoints that handle the heavy lifting of syncing and indexing. Compare their uptime guarantees and rate limits to ensure they match your usage needs.
Sign up for a developer account with a major provider. Generate your API key. Test the connection using a simple eth_blockNumber call via your preferred wallet or script. A successful response confirms your endpoint is active and responsive.
Step 3: Configure for MEV Protection
Maximal Extractable Value (MEV) can lead to front-running and sandwich attacks. To protect your transactions, use a private transaction relay or a MEV-Boost compatible client. Tools like Flashbots Protect route your transactions through a private mempool, preventing other actors from seeing and exploiting your trade before it settles.

In your wallet settings, look for "MEV Protection" or "Private Transactions." Enable this feature. When you broadcast a swap, the transaction is sent directly to validators via a private channel. This reduces the risk of your trade being manipulated by bots.
Step 4: Monitor L2 Transaction Status
Layer 2 transactions are fast but require confirmation on the L1 settlement layer. Use an L2-specific explorer like Arbiscan or Optimistic Etherscan to track your transaction. Look for the "L1 Confirmation" status. This indicates that your L2 state has been securely posted to the Ethereum mainnet, completing the cycle.
Paste your transaction hash into the L2 explorer. Wait for the status to change from "Pending" to "Confirmed." Then, verify the L1 settlement hash is present. This double-check ensures your assets are fully secured on the Ethereum blockchain.
Step 5: Review Security and Audits
Always verify the security audits of any L2 protocol or bridge you interact with. Reputable protocols publish their audit reports from firms like OpenZeppelin or Trail of Bits. Check for any known vulnerabilities or past exploits. This due diligence is critical for protecting your funds in the often-uncharted waters of new infrastructure.
Visit the official documentation of the L2 or bridge. Locate the "Security" or "Audits" section. Read the summary of findings. If there are unresolved high-severity issues, consider waiting for a patch or choosing a more established alternative.
Fix common mistakes
Even with robust Layer 2 infrastructure, execution errors can drain capital or leave transactions stranded. Most failures in 2026 stem from ignoring finality conditions, underestimating MEV risks, or misconfiguring bridge parameters. These aren't theoretical pitfalls; they are daily operational hazards for developers and users alike.
The most frequent error is assuming L2 transactions are final immediately after confirmation. Unlike Ethereum L1, many L2s use optimistic or ZK rollups where fraud proofs or validity proofs must be settled on L1. If you withdraw funds without waiting for the dispute window or proof verification, you risk losing access to your assets during a challenge period. Always verify the specific finality model of your chosen L2—whether it’s Arbitrum’s 7-day challenge window or Optimism’s faster but still pending state.
Another critical mistake is ignoring MEV (Maximal Extractable Value) exposure. When submitting transactions to L2 sequencers or public memepools, front-running bots can squeeze your profits or revert your trades. This is especially dangerous for high-frequency traders or those executing large swaps. Use private RPC endpoints or MEV-protected transaction relayers to shield your orders from public visibility until they are confirmed on-chain.
Finally, users often overlook gas estimation differences between L1 and L2. L2 gas prices are denominated in ETH but priced differently than L1. Failing to account for the L1 data availability cost—often passed through to the user—can result in insufficient balance for withdrawal. Always double-check that your wallet has enough ETH to cover both the L2 execution fee and the L1 data blob cost.
Eth conspiracy: what to check next
Before committing capital or infrastructure time, it helps to separate market speculation from technical reality. These answers address the most common "people also ask" queries surrounding Ethereum’s price, competition, historical performance, and ownership.
Helpful gear
Use these product recommendations as a starting point, then choose the size, material, and price point that fit how you actually use the gear.

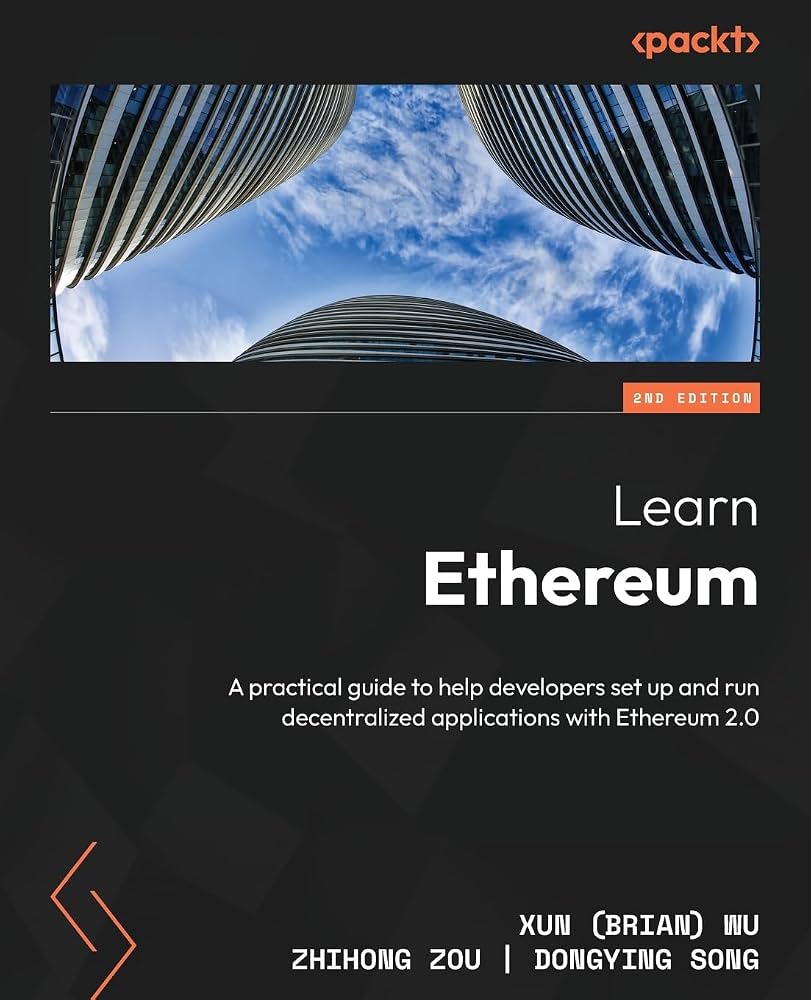
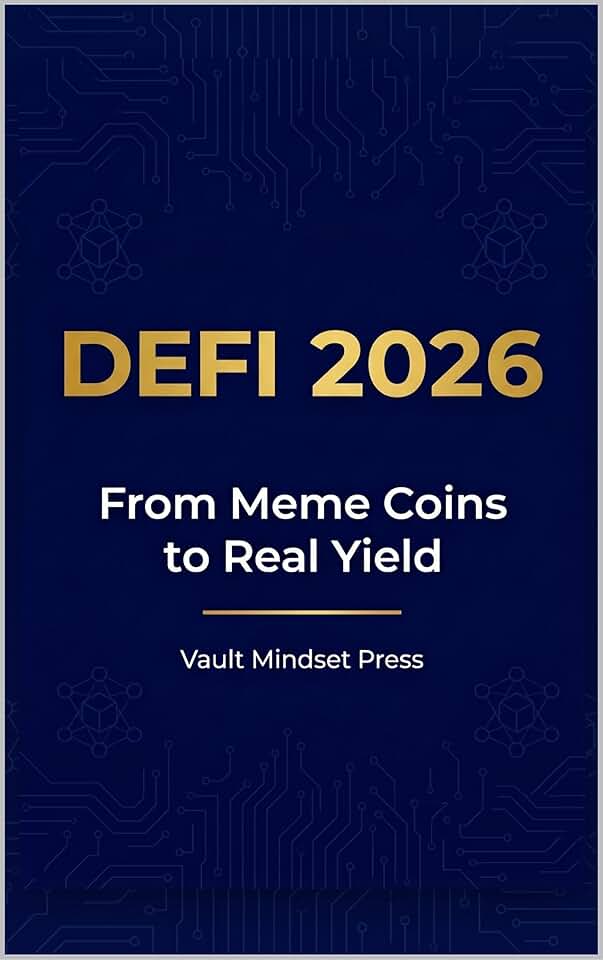
As an Amazon Associate, we may earn from qualifying purchases.
Work through ETH Infrastructure Deep Dive
No comments yet. Be the first to share your thoughts!